
Working with Production-level content in lower environments (eg. DEV or UAT) is important for ongoing development and testing. Depending on your item serialization/source control approach, keeping content in sync can be a challenge.
Using Unicorn or TDS for templates and layouts is common, but source-controlling all content (specifically media items) can bring a lot of weight to the project. In lieu of utilizing serialization technologies or a synchronization tool such as Razl to synchronize content (which I've seen take hours to complete depending on the content load), a common approach is to periodically restore the Master/Web Databases from a Production environment down to lower environments.
In an Azure PaaS setup, without any automation or scripting, this manual process may look like this:
1) Log in to Azure Portal
2) Navigate to the source (production) SQL server instance's Master/Web database
3) Click the copy button and set up the database copy operation configuration (target database name, target server, and pricing tier)
5) Execute the copy operation and wait for the copied database to become available.
6) Log into the target SQL Server instance using SQL Server Management Studio or use the SQL Database Query Editor built into Azure Portal, and execute an ALTER USER query to reset the login password to match the original database passwords
7) Rename the currently connected Master/Web database to include a suffix in the name (eg. _OLD)
8) Rename the copied Master/Web database to use the original Master/Web database name
9) Restart the server
Obviously, this process can vary and is generally a tedious and time-consuming process.
Luckily, Azure resources can be managed using the suite of PowerShell commands without ever needing to access the UI. With the right script, the strain of manually executing these steps can be alleviated.
To use these commands, the Azure PowerShell Module must be installed.
For our scenario, let's assume the following:
1) PROD environment is in a separate Resource Group than the NON-PROD environment
2) While the Master database should suffice, we'll also copy down the Web database to avoid requiring a publishing operation after the script has completed.
3) ConnectionString.config value should not require modification.
4) A short "outage" of the NON-PROD environment will occur during the process since the connected database will be renamed to make room for the copy.
Let's Script It
Step 1 - Define Target and Source Variables
We need to define our target and source variables including source/target Resource Group Names, SQL server names, database names, and NON-PROD environment SQL Admin Credentials.
Step 2 - Invoke Azure Login Process
Step 3 - Rename the currently connected database to make room for the copied database
Since the name of the database on the NON-PROD environment should remain constant, this command will rename the existing NON-PROD database to include a unique dated suffix. Note that this database will not be removed automatically and can be used as a backup in the case that the NON-PROD environment contained content that was not accounted for or backed-up prior to the migration. Removing it will be up to you.
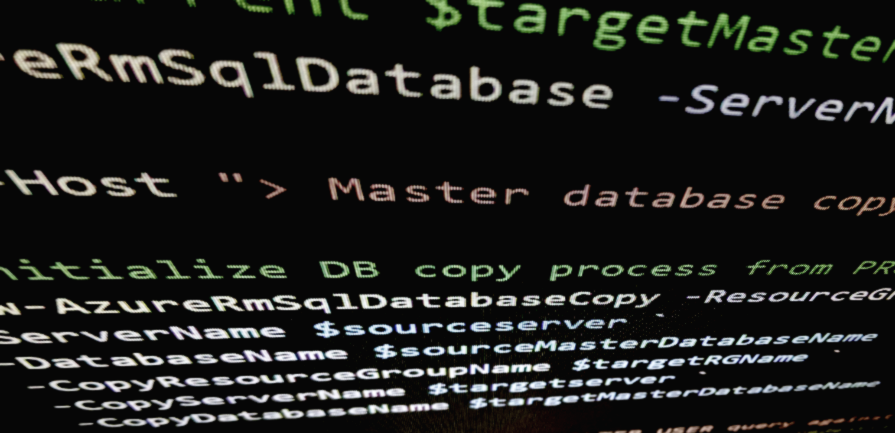
Step 4 - Initialize the database copy operation
Once the name of the database is available on the target SQL server, the following command will execute the database copy process.
Step 5 - Execute the ALTER USER query
Since the database login from the source database comes with the process of a direct copy, an ALTER LOGIN query must be executed against the database to reset the [masteruser] or [webuser] passwords to match what's in the NON-PROD ConnectionStrings.config.
Step 6 - Restart the App Service
When the copy operation is completed, restarting both App Services will ensure a fresh connection to the databases is established.


0 comments:
Post a Comment